To use a laser automatic welding machine, follow these steps:
Safety precautions: Ensure that you are wearing appropriate safety gear such as goggles, gloves, and protective clothing.
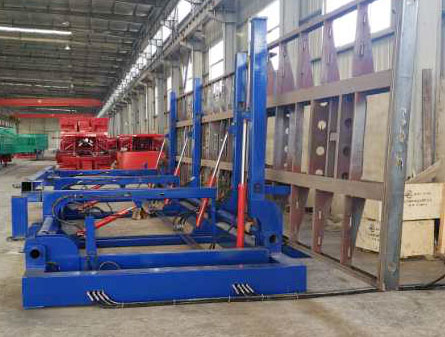
Set up the machine: Place the laser automatic welding machine on a stable surface and connect it to a power source. Make sure all the necessary cables and connections are securely in place.
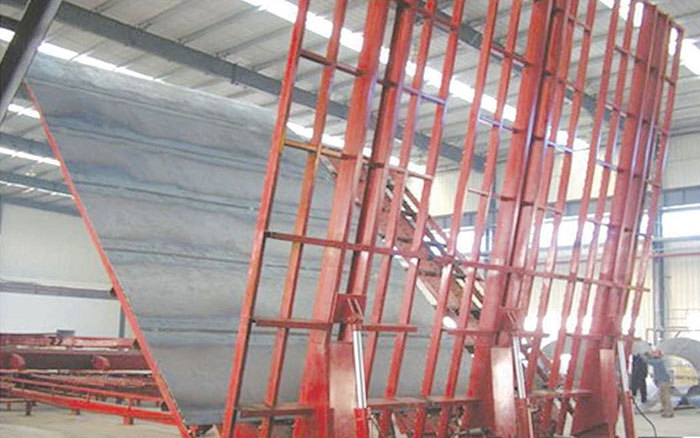
Prepare the materials: Clean and prepare the materials you want to weld. Remove any dirt, rust, or contaminants that may affect the welding process.
Adjust the settings: Set the appropriate parameters on the machine's control panel, such as power, pulse duration, welding speed, and focus. These settings may vary depending on the material and thickness you are working with.
Position the materials: Align the materials to be welded in the desired position. Use clamps or fixtures if necessary to hold them securely in place.
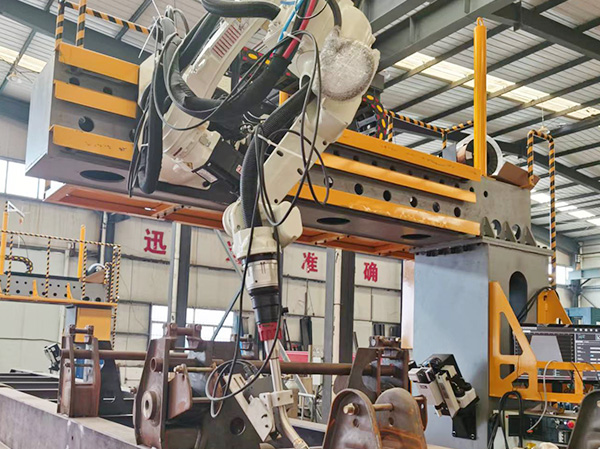
Start the welding process: Press the start button on the machine's control panel to initiate the welding process. The laser beam will be emitted and directed onto the joint between the materials.
Monitor the welding process: Observe the welding process closely to ensure that the laser beam is accurately hitting the joint and that the materials are being fused together properly. Adjust the settings if necessary.
Complete the weld: Allow the laser to complete the welding process. Once the welding is finished, release the start button to stop the laser beam.
Inspect the weld: After the welding process is complete, inspect the weld for any defects or imperfections. Use non-destructive testing methods if required to ensure the quality of the weld.
Clean up: Clean the machine and the work area after use. Remove any debris or excess material from the welding process.
Remember to always refer to the manufacturer's instructions and guidelines for the specific laser automatic welding machine you are using.

KNOWLEDGE
How to use Laser automatic welding machine
2023-10-20 15:05:57
Send Inquiry

Thank you!

Please enter your email